Looking for the ultimate way to enjoy tofu that’s fast, easy, and incredibly satisfying? This Air Fryer Tofu recipe is your new go-to. Made with just four simple ingredients, it delivers perfectly crispy, golden bites of tofu in under 20 minutes — no frying, no fuss, and absolutely no soggy cubes. Whether you’re a long-time tofu lover or just starting your plant-based journey, this one’s for you.
🌱 Why This Air Fryer Tofu is a Sustainable Kitchen Hero
Tofu is already a sustainability superstar — it requires significantly less water and emissions than animal-based proteins. When you pair it with an air fryer, which uses less energy and oil than traditional frying methods, you’ve got a winning recipe for the planet and your taste buds.
This isn’t just another tofu recipe. This is THE tofu recipe — the one that converts skeptics and makes your weeknight meals feel like a treat. And best of all? You probably have everything you need in your kitchen already.
🛒 Ingredients You’ll Need
Here’s the beauty of it — you only need a handful of pantry staples:
- 1 block of super firm tofu (14-16 oz) – No pressing needed! High-protein tofu is the MVP here.
- 2 teaspoons toasted sesame oil – for flavor and a touch of richness.
- 1½ tablespoons soy sauce – or tamari/coconut aminos for gluten-free options.
- 2 tablespoons cornstarch – helps create that irresistible, crispy coating.
Optional, but Highly Recommended:
- A pinch of sea salt and cracked black pepper
- Add your favorite spices like garlic powder, smoked paprika, or even nutritional yeast for a flavor boost.
- Want to marinate your tofu first? Go for it! Just skip the soy sauce/oil in the main recipe if you do.
🔥 How to Make Perfect Air Fryer Tofu
- Preheat your air fryer to 400°F (or 390°F depending on your model).
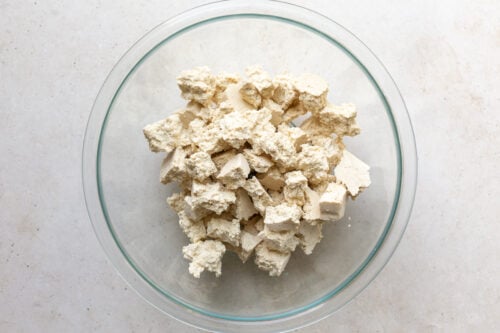
- Tear or cube your tofu. We LOVE tearing tofu by hand into bite-sized chunks — it creates uneven edges that get extra crispy.
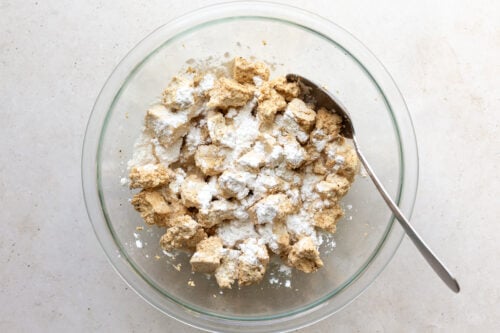
- In a mixing bowl, toss tofu with sesame oil and soy sauce until coated.
- Sprinkle on the cornstarch and gently toss again to cover each piece evenly.
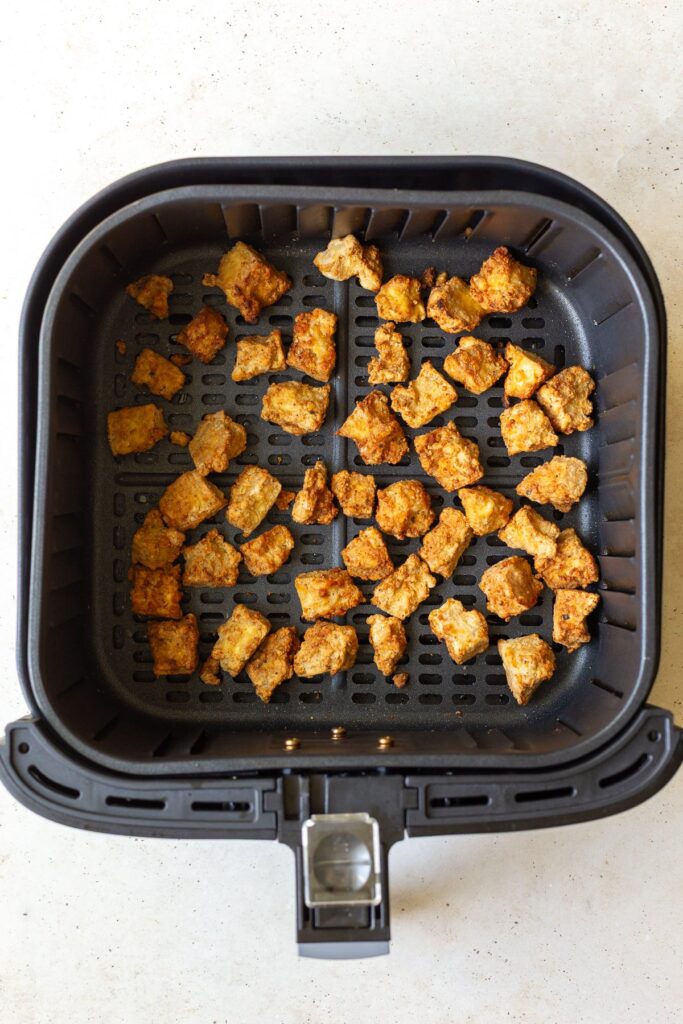
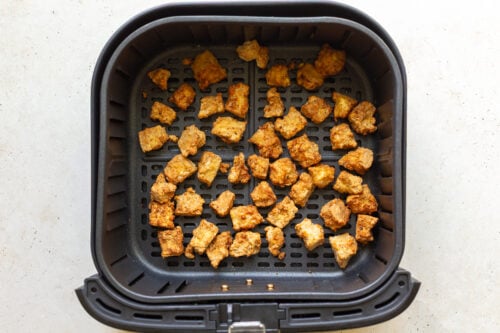
- Spread the tofu in a single layer in your air fryer basket. Don’t crowd it — give each piece some breathing room so they crisp up beautifully.
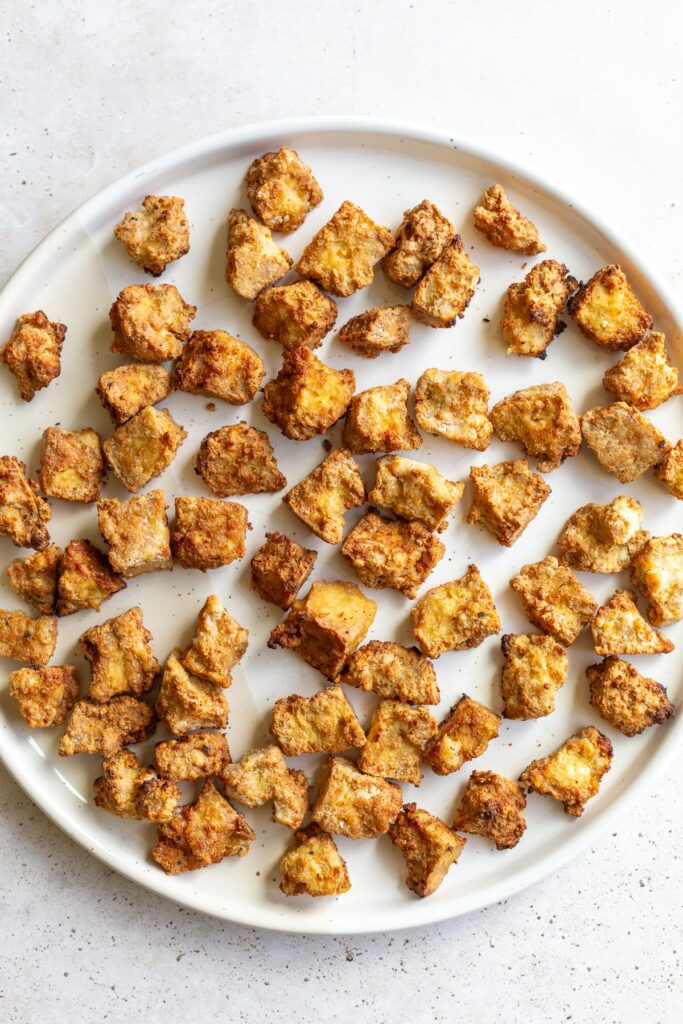
- Air fry for 10 minutes, then shake or flip and cook for another 5-7 minutes until crispy and golden.
That’s it. Seriously.
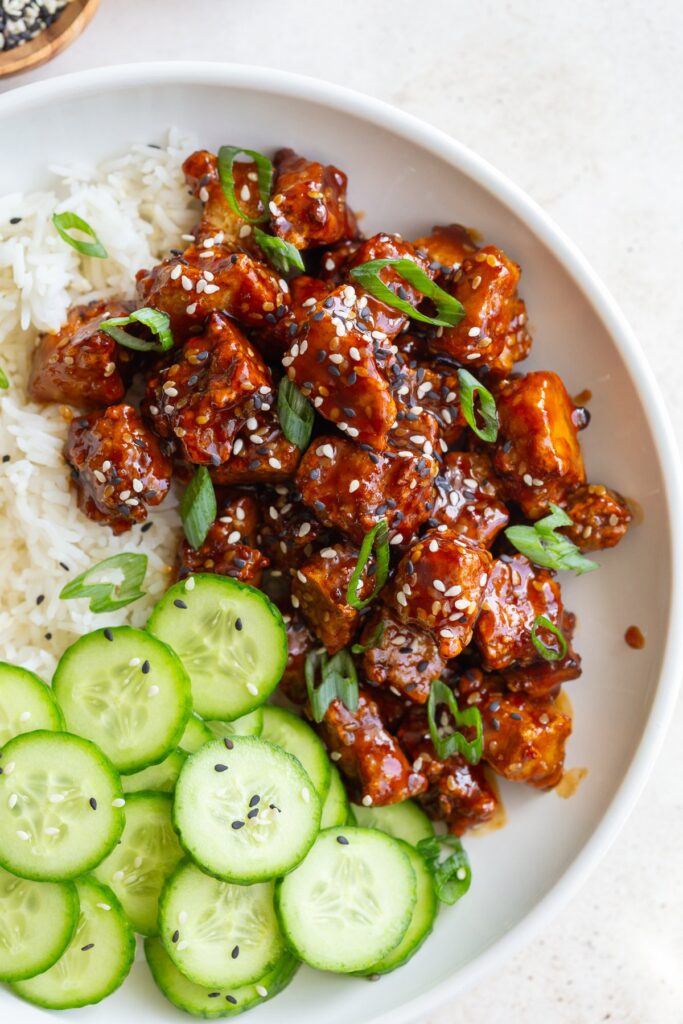
🍽️ Serving Ideas & Customizations
This air fryer tofu is endlessly versatile! Here are a few ways to enjoy it:
- Toss it into stir-fries or grain bowls
- Serve with a bold peanut or chili crunch sauce
- Add to salads, wraps, or even tacos
- Snack on it straight out of the basket — no judgment!
Want to flavor it differently each time? Try mixing in different spice blends before air frying — like Cajun, lemon pepper, or curry powder.
💡 Pro Tips for Best Results
- Use super firm tofu whenever possible. It skips the pressing and gives the best texture. Trader Joe’s and Whole Foods usually have it!
- Don’t skip the cornstarch — it’s the key to the crispy coating.
- Shake the basket halfway through cooking to make sure every piece crisps up evenly.
- Batch cooking? Keep finished tofu warm in the oven at 200°F while the rest cooks.
🧠 Nutritional Info (per serving)
- Calories: 253
- Protein: 20g
- Carbs: 13g
- Fat: 13g
- Sodium: 1345mg
- Fiber: 2g
- Calcium: 269mg
- Iron: 3mg
🔁 More Tofu Recipes to Love
Can’t get enough of tofu? Here are some crowd-favorite recipes to add to your rotation:
- Chili Crunch Tofu Bowls – Spicy, crunchy, satisfying.
- Tofu Satay with Peanut Sauce – A bold and flavorful dish perfect for meal prep.
- Creamy Vegan Tofu Mac & Cheese – Comfort food that’s protein-packed and dairy-free.
✅ Final Thoughts: Why You’ll Keep Coming Back to This Recipe
This crispy air fryer tofu is:
- Fast ✅
- Easy ✅
- Customizable ✅
- Protein-rich ✅
- Plant-based & eco-friendly ✅
Whether you’re building a more sustainable plate, experimenting with meatless meals, or just craving something crispy and crave-worthy — this recipe hits every mark.
Ready to change the way you think about tofu?
Want to see it in action? Check out the full recipe below with step-by-step instructions and helpful photos!